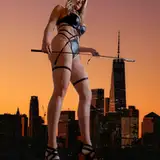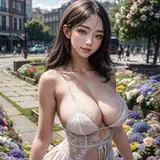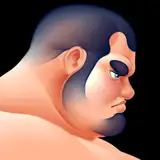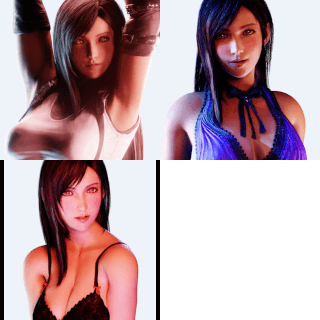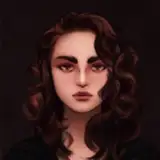
This is the last stage. Since we know where the light is coming from (reference photo), we lighten the points on the body that are exposed to it, thus giving it a bulge. Let's also not forget that the light appears on the contours of the body, thanks to which the image becomes more realistic.
To do this, all you need is the Procreate app or the free version of Medibang Paint, which I use the most. I am sending you PSD files on tier 3 so you know what and how many layers I use. Remember, in fact, 3 brushes are enough to do this job. No need to complicate yourself.
In case of questions or if you are interested in something, feel free to write 😉